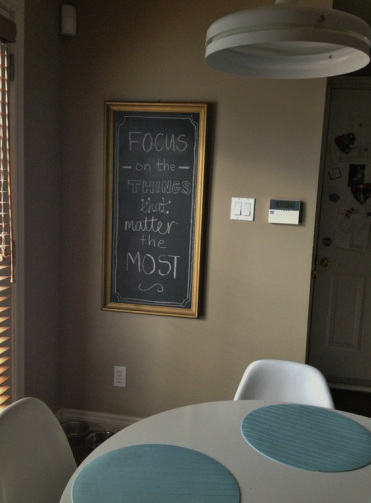
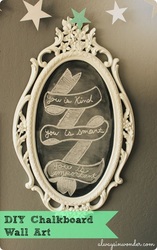
Hello folks, check out my latest project! For a while now I have had a D.I.Y chalkboard on my mind, and on my to do list. I have been looking for the right old frame to use and after my recent trip to Nova Scotia I picked up a great find for only $4. I loved the shape and size and the price! I thought about painting the frame but then decided I wanted to keep the old gold finish and mix it up a little and stay away from the spray can! Here's what I did. . . . .
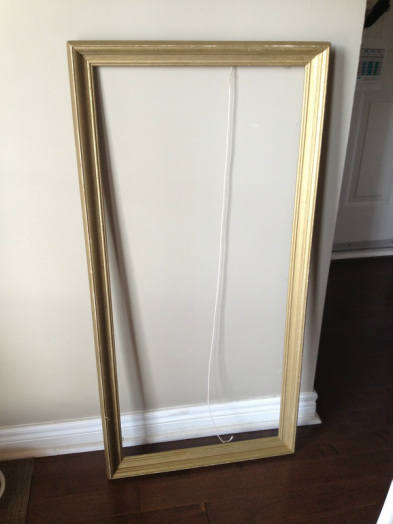
 Find a great frame - bargain at only $4 
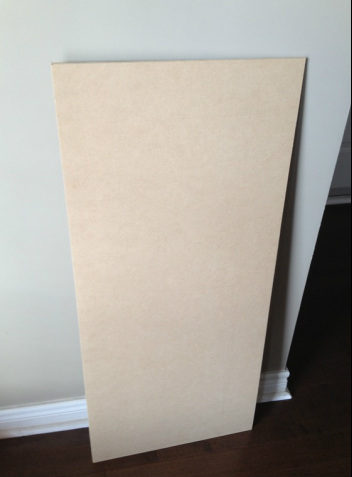
Pick up some MDF from local hardware store only $6 
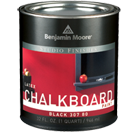
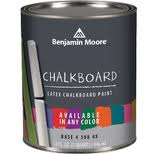
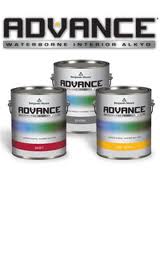
Used Benjamin Moore chalkboard paint from Sanctuary Paint ( my workplace- handy for a crafty person!) leftover from previous project. I used black but now it is available in any colour! Great product!
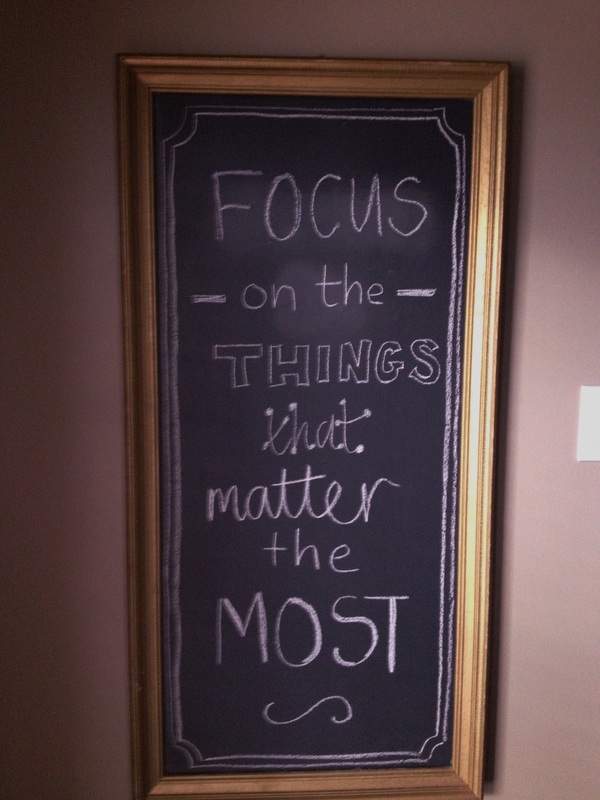
 
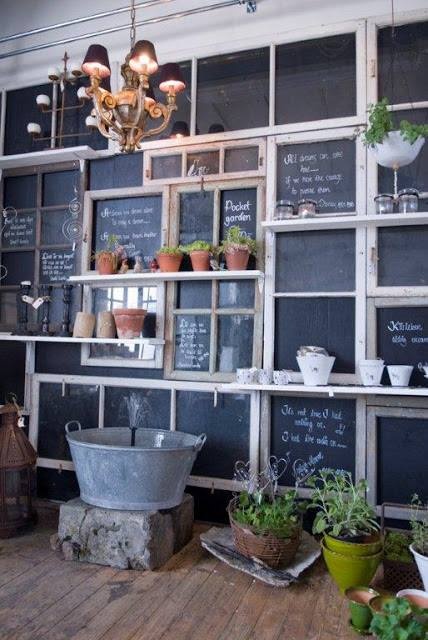
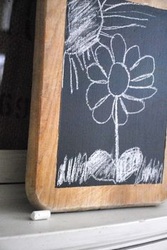
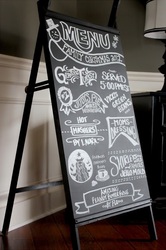
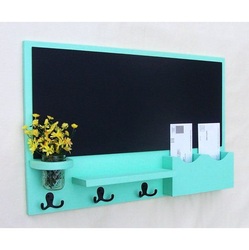
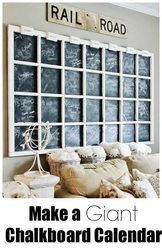
Finished chalkboard- after painting the MDF I glued it into the frame using " No More Nails". Then I prepared the board by using the side of the chalk all over it and then cleaned it off. This process is called "seasoning" it makes it easier to clean after. Then I added my quote of the day! Words to live by. . I'm going to change it up and keep it inspirational. This was an easy and quick project but very satisfying. Why not make your own. My crafting buddy Lisa did and she even made her own chalkboard paint!! Here's hers along with some other great examples.
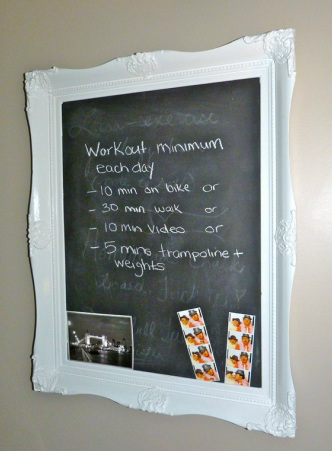
 Basically you can put chalkboard paint in or on anything and make your own board for important messages, dates or just something to make you smile or feel inspired by. . . . Another project checked off, onto the next.
0 Comments
Sorry I've been gone for a while, busy working and also I started a kitchen makeover! I love my little house in the country but...... I didn't love my kitchen especially the maple cabinets. I would love a bright, shiny new one as most of us would, but at this stage in life a DIY makeover is on the cards instead! First step was to paint the cabinets. I know some of you will say, but their wood! I however don't care ! I will paint anything and if you look around my house you can see that is true!! I gathered all my supplies :- Sanding blocks STIX primer ( super high adhesion- very sticky!) ADVANCE latex/alkyd paint- in Stonington Gray by Benjamin Moore Micro fibre mini rollers Paint brush Drop cloths I took all the doors off and removed all the hardware. Then I sanded each piece both sides and also the wood on the bases etc. The next day I primed everything, using the basement as a workshop. After priming both sides I started on the painting using the small micro fibre rollers, it took me days to do it all as you have to wait 16 hours for the paint to dry and do two coats each side but it's worth it. The ADVANCE gives you a smooth even finish and covers well. I have used it on lots of projects around the house. This makeover took me a week from start to finish and I love the finished result. Even though everyone at home and work can attest to the fact that I did complain! Just a little! It definitely was a lot of work but the results were so worth it. Take a look at the before and afters. KITCHEN CABINET MAKEOVER LET"S BEGIN AFTER Next up will be subway tile for the back splash and a new countertop. A mini makeover always lifts the spirits whether it's on our home or on ourselves. The power of paint at work again!
|