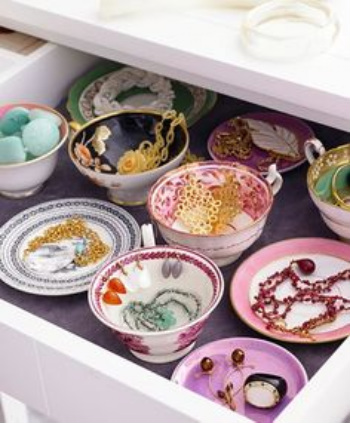
 Tea anyone?
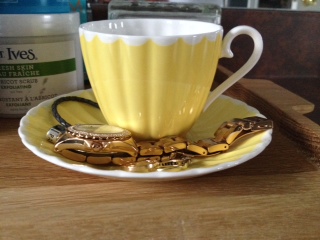
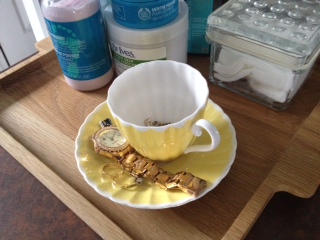
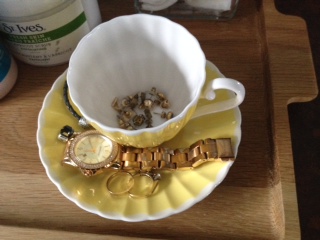
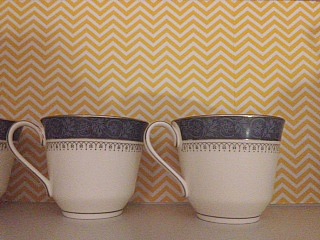
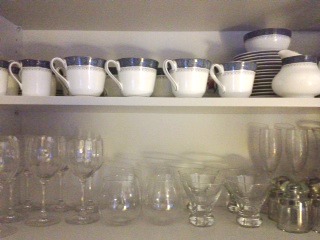
 When you are thinking about organizing anything at home, think outside the rubbermaid container. I love to use unexpected items in a new and sometimes unusual way! On the weekend I was out with my mum, hunting for the perfect teacup and saucer for the jewellery I wear the most. I have a great organizer in the closet but I find I wear a few items over and over and it's a bit of pain hunting through for them in the early mornings before work. I found a gorgeous little yellow and white set at an Ottawa antique market. I thought I would
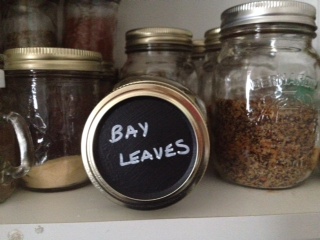
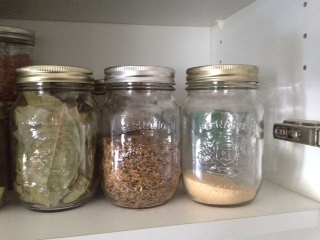
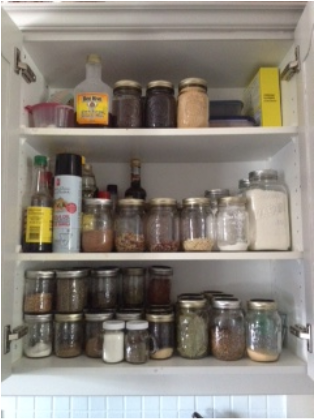
do a quick show and tell. What do you think? Cups especially are a great household item to use for pens, brushes, and so much more. Take a look . . . . .
do a quick show and tell. What do you think? Cups especially are a great household item to use for pens, brushes, and so much more. Take a look . . . . .
Here are a few other examples I found on Pinterest
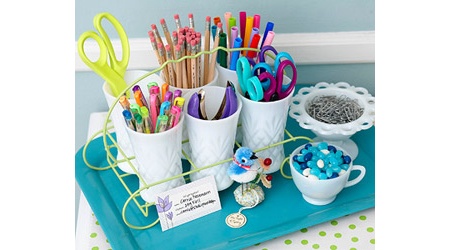
Cluster of white cups, perfect for office supplies
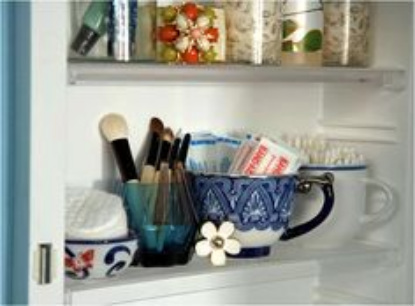
Medicine cabinet eclectic cup storage


 RSS Feed